
When you begin learning decreases to shape your knitting, there are four basic decreases to start with. You’ll want to know a right-leaning single stitch decrease, a left-leaning single stitch decrease, a double decrease with the center stitch to the back, and a double decrease with the center stitch to the front. That’s how we came up with this list of the K2tog, SSK, SK2P, and CDD! As with all things in knitting, there are many different ways to accomplish the same result including with decreasing stitches, but these four basic decreases will give you the fundamental knowledge to easily pick up other styles of decreases.
K2tog
K2tog aka the knit two together decrease is worked exactly like its name. Two stitches on your left needle are knit together as one with no rearrangement. It decreases one stitch from your stitch count, and it leans to the right.
Step 1
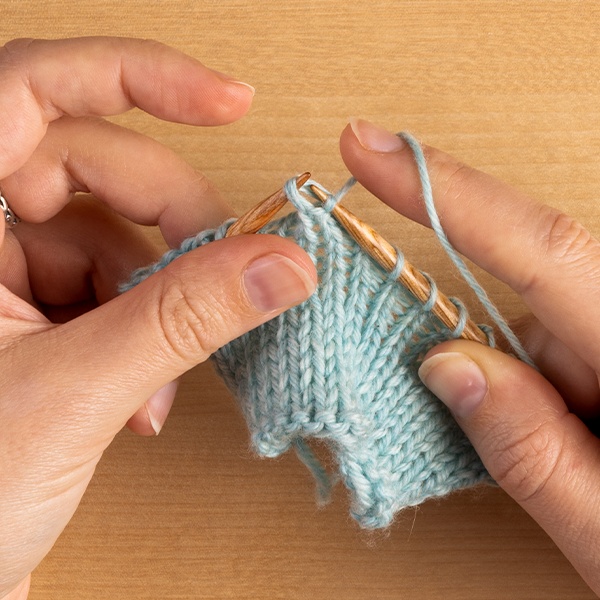
Insert your needle through the second and first stitches on your left needle at the same time knit-wise, i.e. as if you were going to knit. It’s the same movement as if you were knitting one stitch, but the needle goes through two stitches.
Step 2
Wrap your yarn around your right needle and pull the new stitch through both old stitches, just like you would if you were knitting a normal stitch.
Step 3
Let the old two stitches drop off the left needle, with one new live stitch on the right needle. You’ve just decreased one stitch!
Step 4
Admire your finished stitch and consider trying a few variations. The K2tog can turn into a right-leaning double decrease known as the K3tog by inserting your needle through 3 stitches instead of 2. You can also work a P2tog to create a purled decrease by inserting your needle through 2 stitches as if to purl and purling them together.
SSK
SSK aka the slip, slip, knit decrease has a slightly misleading name at first glance, because it involves knitting two stitches together after rearranging them by slipping stitches, and this isn’t clear from just the name alone. SSK decreases lean to the left and reduce the stitch count by one, so they are typically used to mirror K2tog decreases. SSK decreases are structurally mirror images of k2tog decreases, but because of a combination of yarn attributes and tension changes from rearranging the stitches, typically they will not be visually identical. The difference in appearance is small, and it is not due to knitter error.
Step 1
Insert your needle into the first stitch on the left needle as if you were going to knit a stitch, but instead of knitting it, simply slip the stitch to the right needle.
Step 2
Repeat Step 1 with the next stitch on the left needle. Your working yarn will now be two stitches away from the end of your right needle, and the two slipped stitches will be mounted on the needle at a different angle when compared to the other stitches.
Step 3
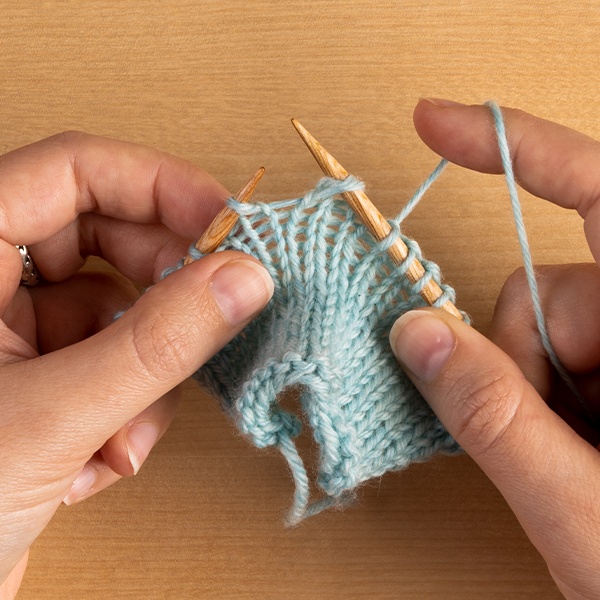
Insert your left needle up the two slipped stitches, starting with the second stitch on the right needle from the tip. Your needles will now be set up to knit the two slipped stitches together.
Step 4
Wrap your yarn around your right needle and pull the new stitch through both old stitches, just like you would if you were knitting a normal stitch.
Step 5
Let the old two stitches drop off the left needle, with one new live stitch on the right needle. You’ve just decreased one stitch!

Step 6
Admire your finished stitch and consider trying a few variations. The SSK can turn into a left-leaning double decrease known as the SSSK by repeating Step 2 a 3rd time and inserting your needle through 3 stitches instead of 2. You can also work a SSP to create a purled decrease by following Steps 1-3, but instead of knitting once both needle tips are through the slipped stitches, drop them off the right needle and onto the left, and then purl the rearranged stitches together.
SK2P
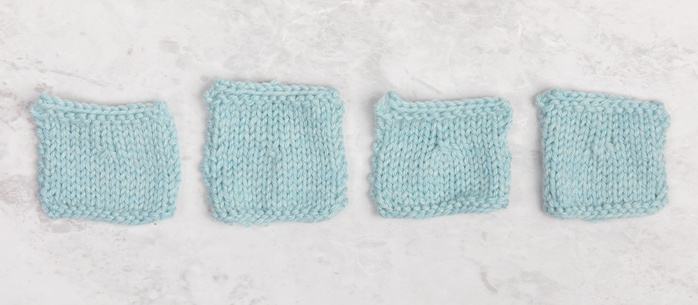
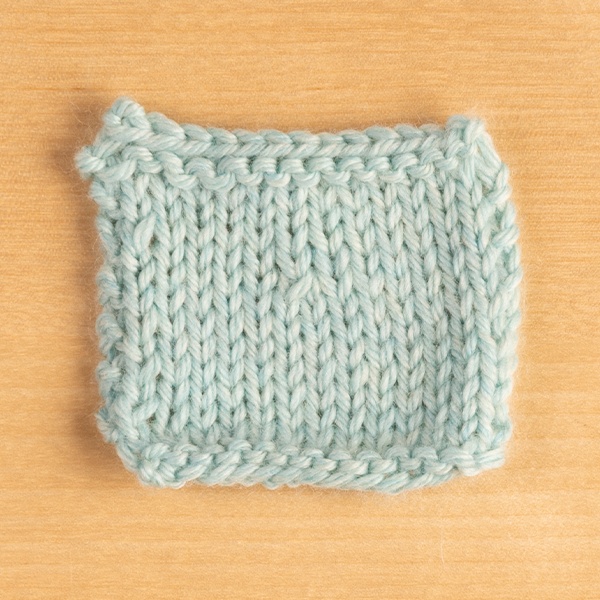
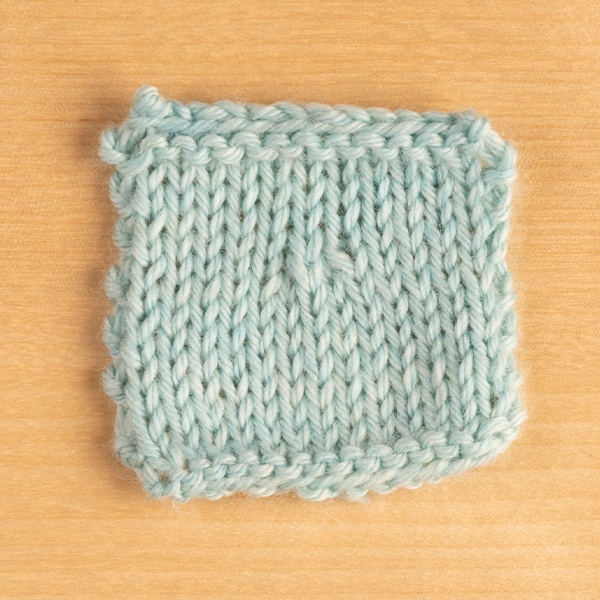
SK2P is a double decrease (meaning it decreases two stitches instead of just one) that combines what we’ve learned while working SSK and K2tog. It starts with three stitches and reduces to one. The abbreviation breaks down to slip one, knit two together, and pass the slipped stitch over. Whether an SK2P is considered a centered decrease or a left leaning decrease is up for some debate. The center stitch ends up centered at the back, with right and then left layered over it, and it will appear balanced when used in situations like the swatch on the header, directly after pairs of SSK and K2tog. But because the top stitch is the left-leaning stitch, some consider this to be a left-leaning double decrease to be used instead of an SSSK.
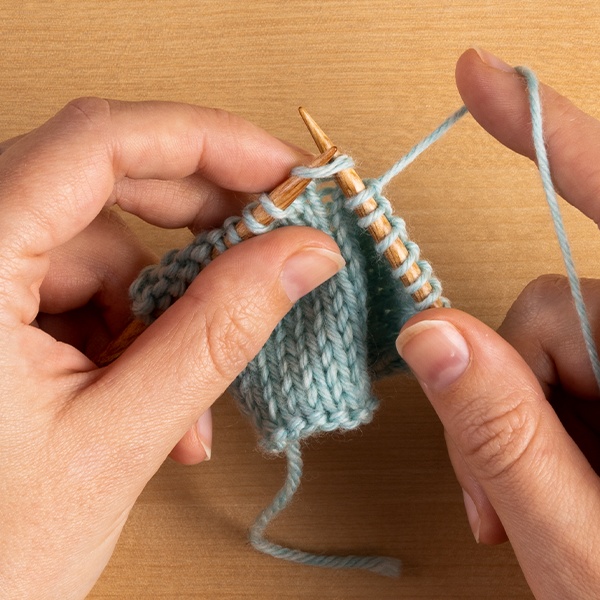
Step 1
Insert your needle into the first stitch on the left needle as if you were going to knit a stitch, but instead of knitting it, simply slip the stitch to the right needle.
Step 2
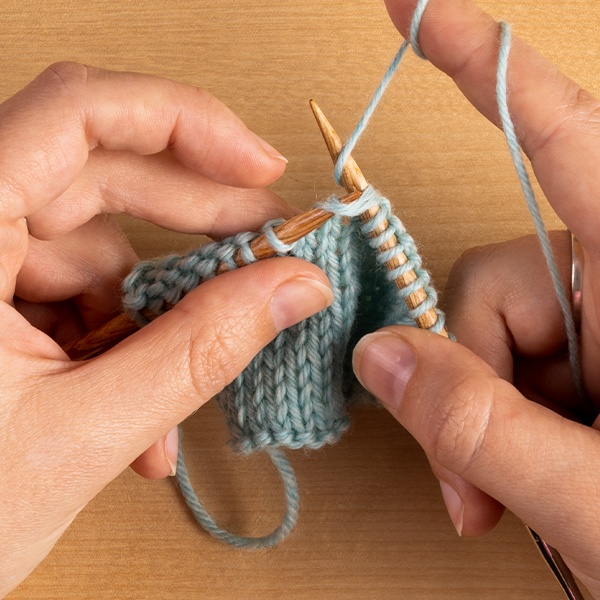
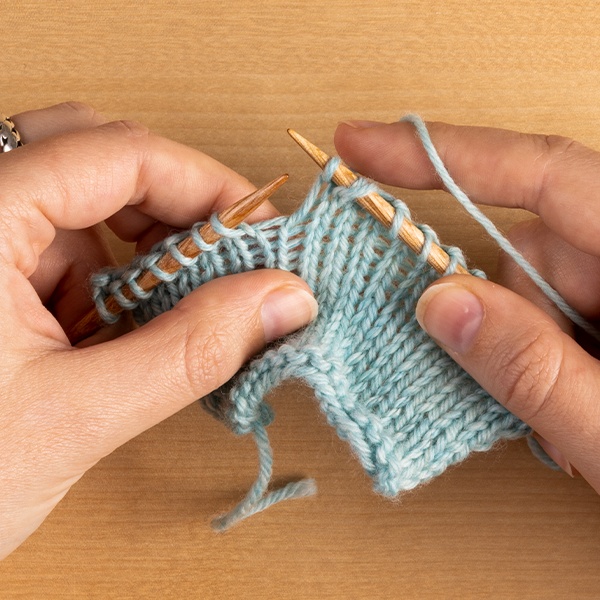
With the slipped stitch waiting on your right needle, insert the right needle through the second and first stitches on your left needle knit-wise, i.e. as if you were going to knit. It’s the same movement as if you were knitting one stitch, but the needle goes through two stitches.
Step 3
Wrap your yarn around your right needle and pull the new stitch through both old stitches, just like you would if you were knitting a normal stitch.
Step 4
Let the old two stitches drop off the left needle, with one new live stitch on the right needle. You’ve just decreased one stitch, and the slipped stitch is still waiting.
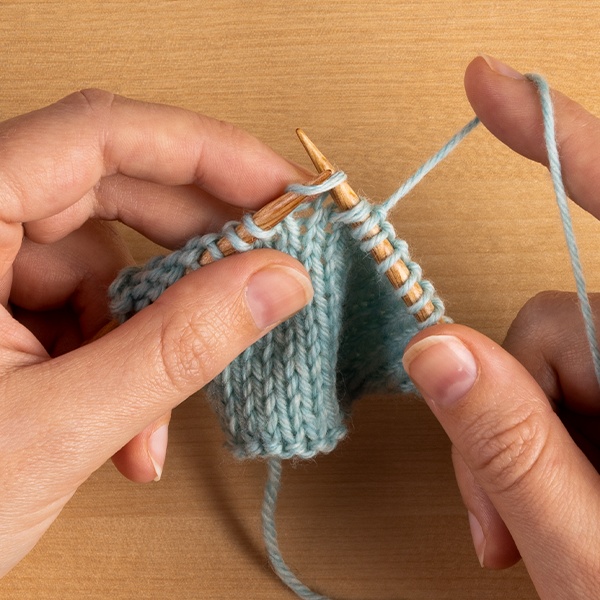
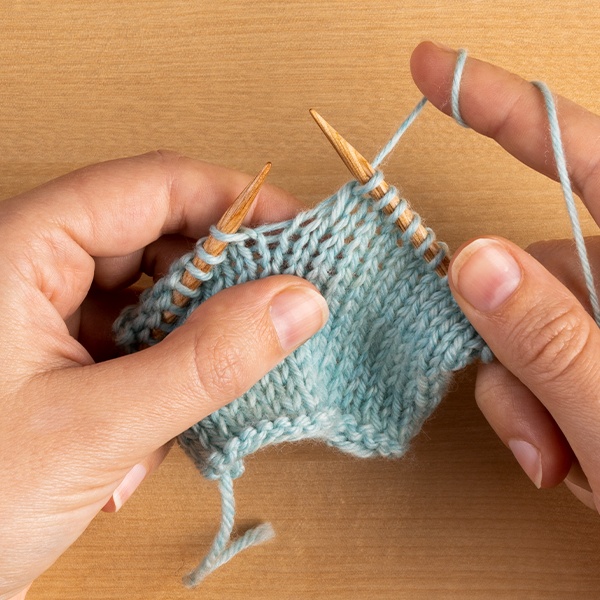
Step 5
With the tip of your left needle, catch the slipped stitch that is the second stitch on the right needle, and pass it over the first stitch, letting it drop off the needle. This decreases a second stitch, completing the double decrease.
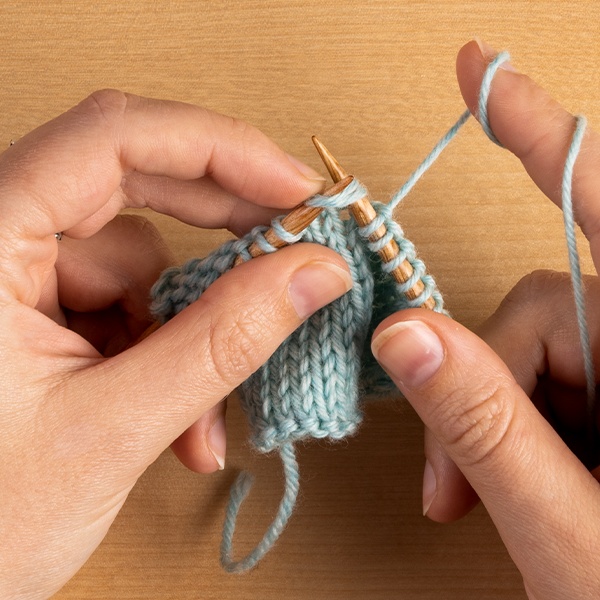
Step 6
Admire your finished stitch. Notice that the center stitch of the three stitches making up the double decrease is behind the left and right stitches, so the center is at the back and the left leaning stitch is on top, but it’s still balanced looking.
CDD
CDD aka the centered double decrease is another double decrease, starting with three stitches and reducing to one, but unlike SK2P, CDD places the central stitch on top of the other two stitches involved, creating a distinct central line. When choosing a double decrease, the different directions the stitches can lay are the primary reason why a knitter may prefer one over another for different projects.
Step 1
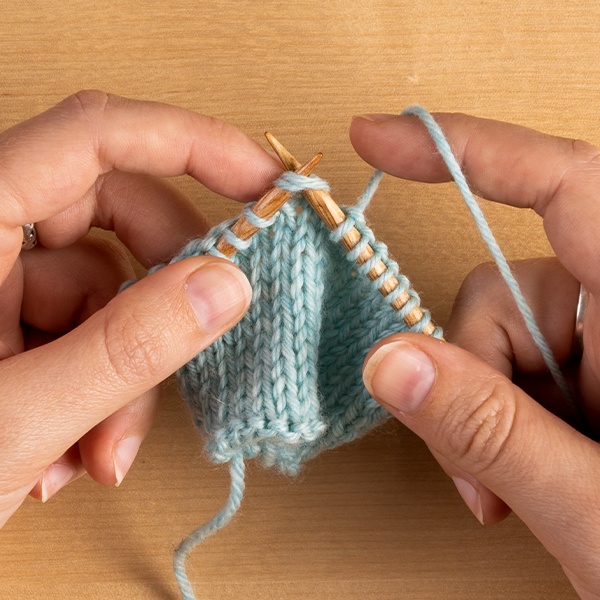
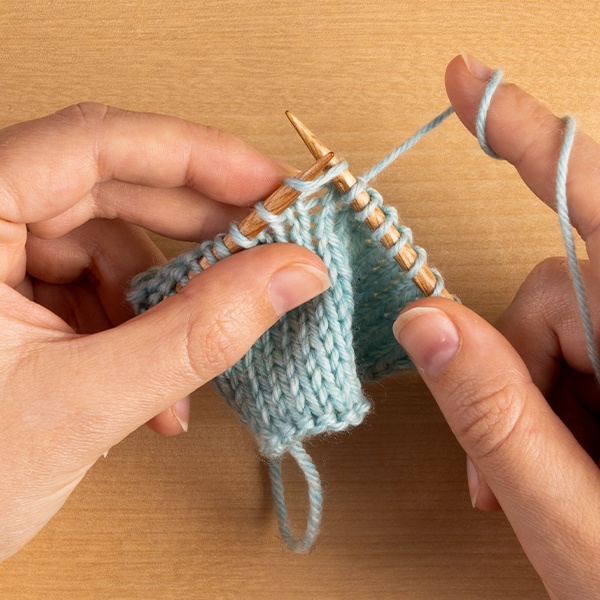
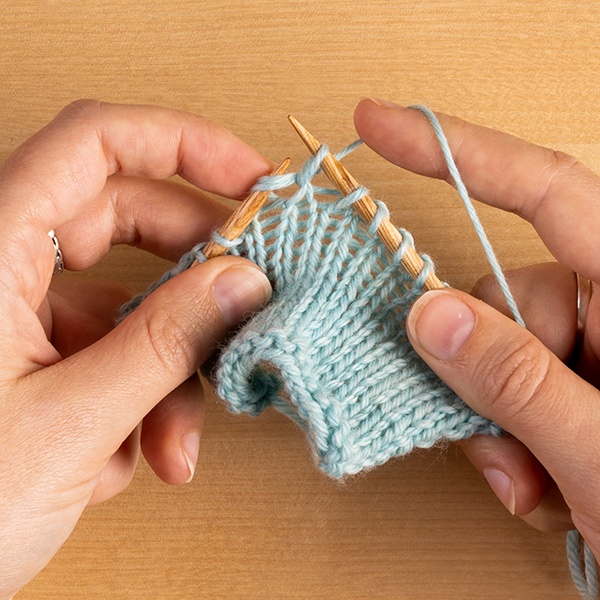
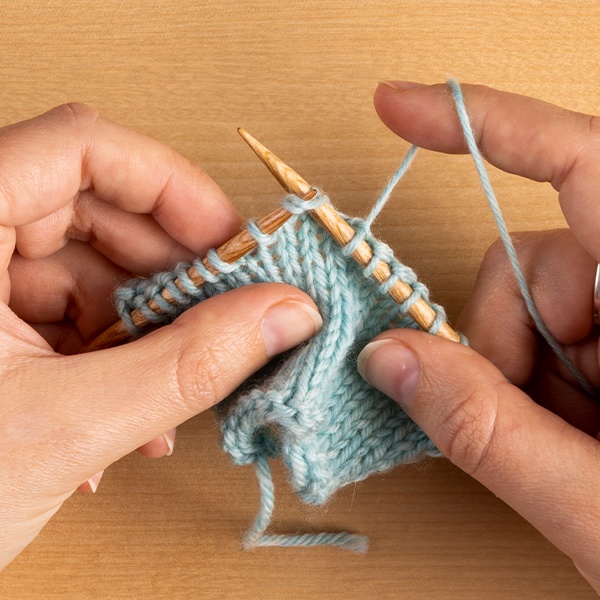
Insert your needle through the second and first stitches on your left needle at the same time knit-wise, i.e. as if you were going to knit. It’s the same movement as if you were knitting one stitch, but the needle goes through two stitches.
Step 2
Instead of knitting, simply slip the stitches together onto the right needle by removing the left needle.
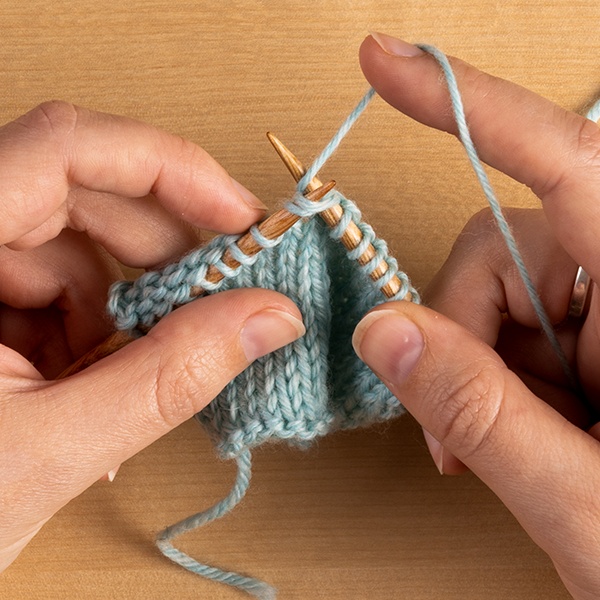
Step 3
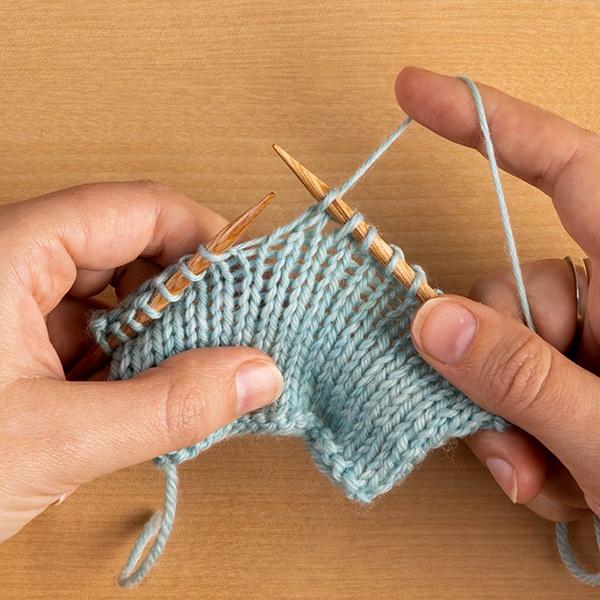
Knit the next stitch on your left needle normally. Don’t worry too much about the tension from the working yarn having to pass behind the two slipped stitches to knit the new stitch. There will be an opportunity to adjust it later.
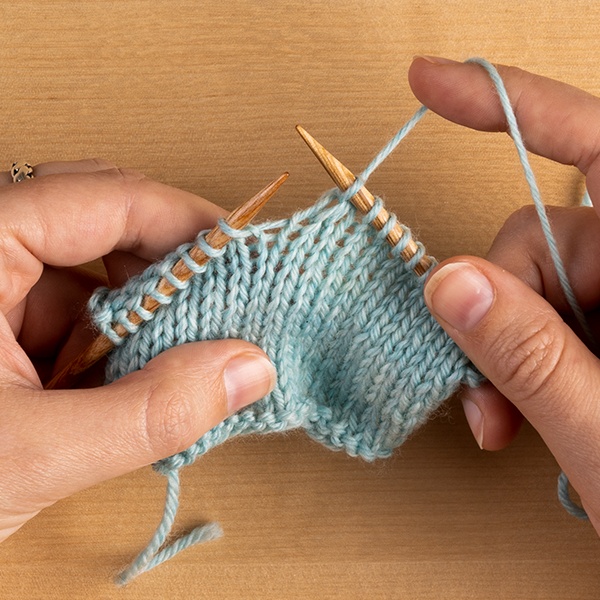
Step 4
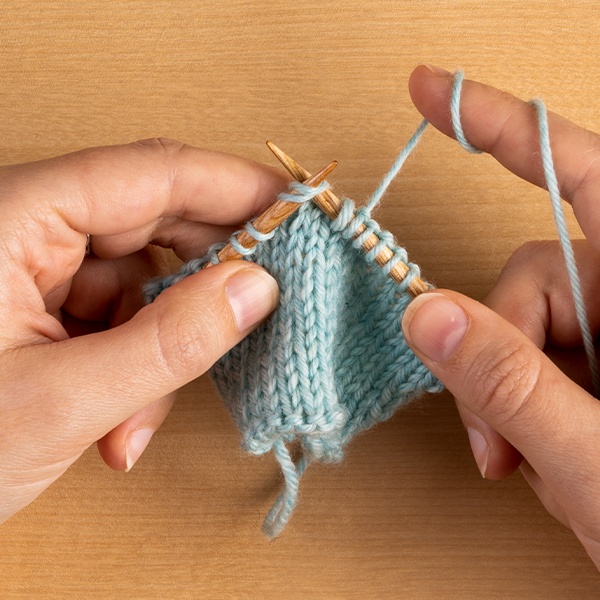
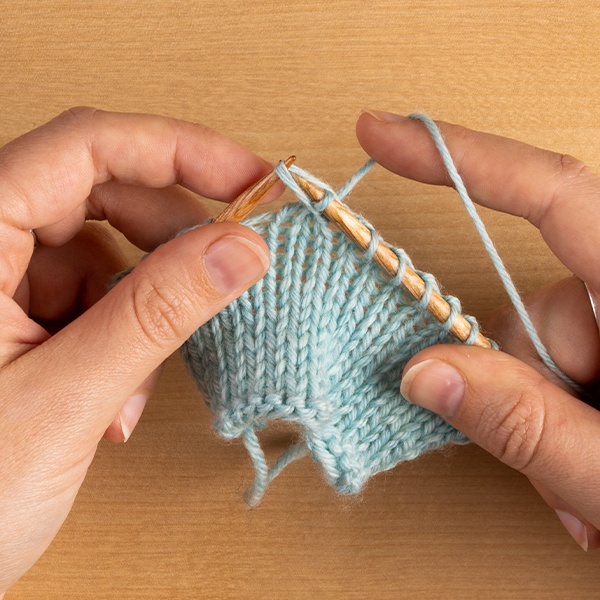
With the tip of your left needle, catch the slipped stitches that are the second and third stitches on the right needle, and pass them over the first stitch, letting them drop off the needle. This decreases two stitches, completing the double decrease.
Step 5
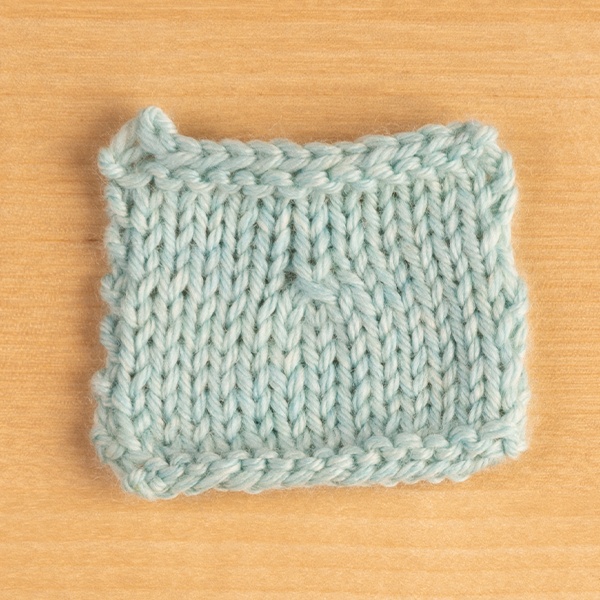
Admire your finished stitch, and tighten up any slack yarn next to it. Notice that the center stitch of the three stitches making up the double decrease is centered on top so it stands out.